Chinese 5 Doll Paper-cut
The completed decorative paper-cut to be made with these step-by-step instructions. For this five linked girls paper-cut you will need colored paper, a craft knife, stapler and card.

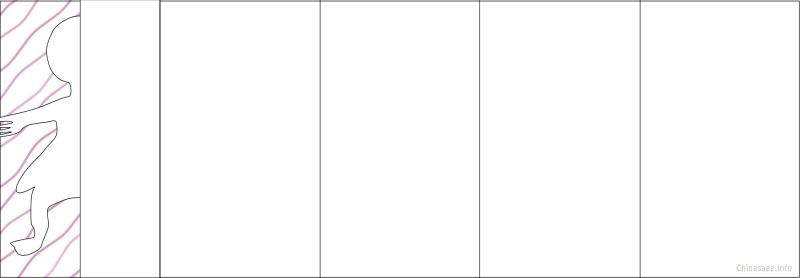
1. Here is the template for the Five Dolls paper-cut - right click on it and save the image so you can print it out. As this paper-cut is folded over several times you can only use thin paper for it, it is not suitable for card. I used 80gsm A4 colored paper - the sort of weight of paper used in photocopiers. The wavy lined area is the part to be cut away. The 4½ boxes make up the repeated pattern.
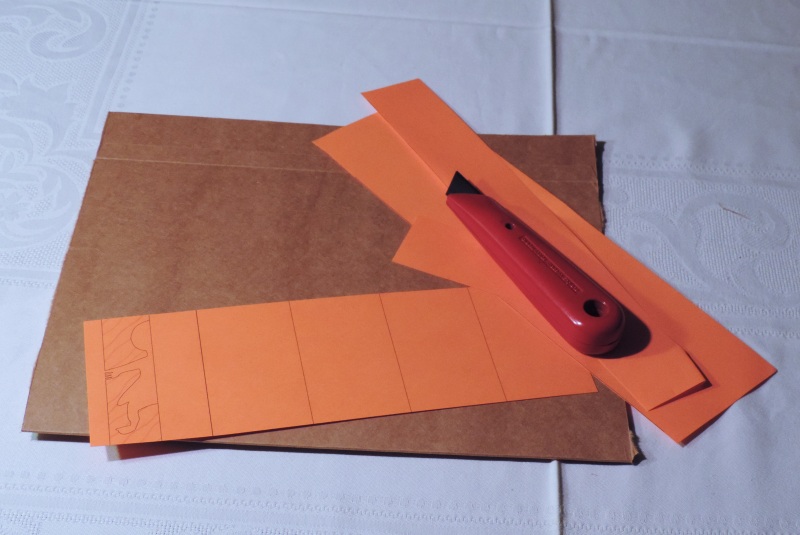
2. Cut around the whole shape to remove the excess paper - on the top, bottom and right.
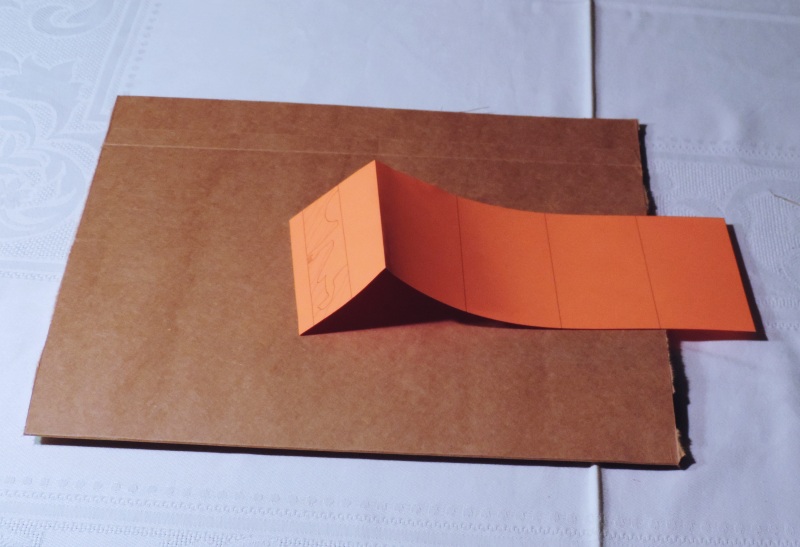
3. The paper is now folded into a concertina, first folding one way then the other. The folds must be accurate and precisely follow the printed guidelines. The first fold on the left side must face outwards.
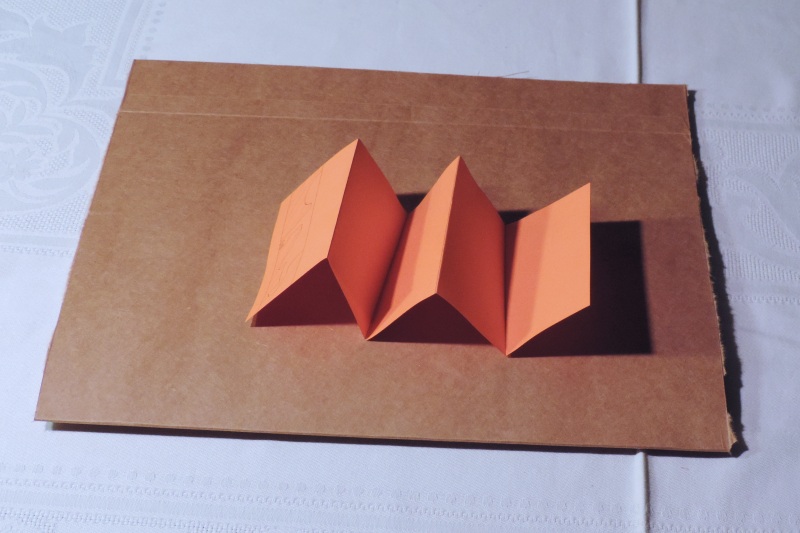
4. Alternate with inwards and outwards folds until there are five segments as a concertina. The printed outline must be on the outside.
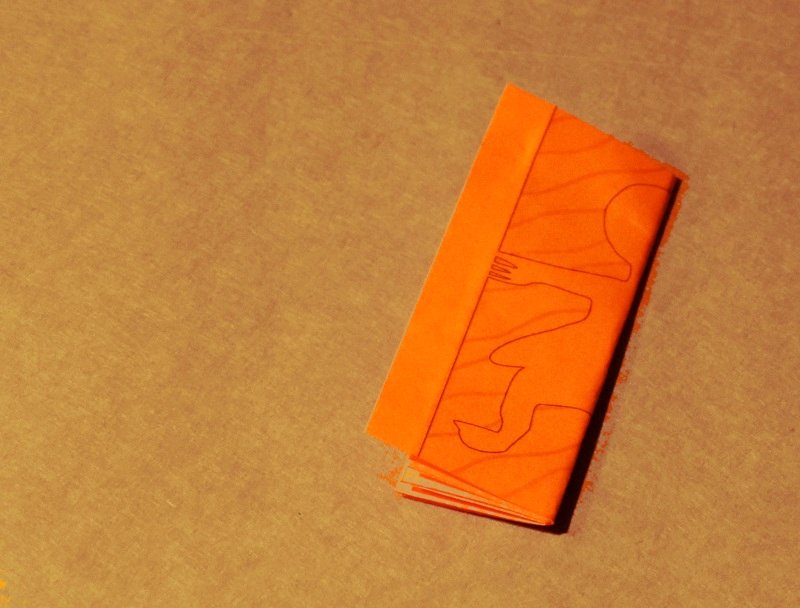
5. Tightly fold the shape down as flat as possible. Then finally fold it in half so the outline shape is on top. There are now ten layers of paper.
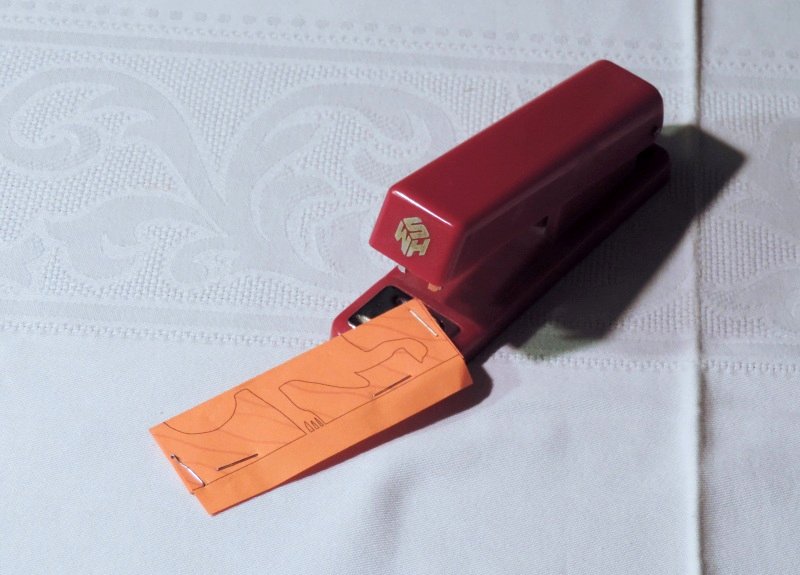
6. To keep the ten layers from moving while you cut out around the shape it is best to staple the layers together. Use four staples through the wavy lined areas that are to be cut away.
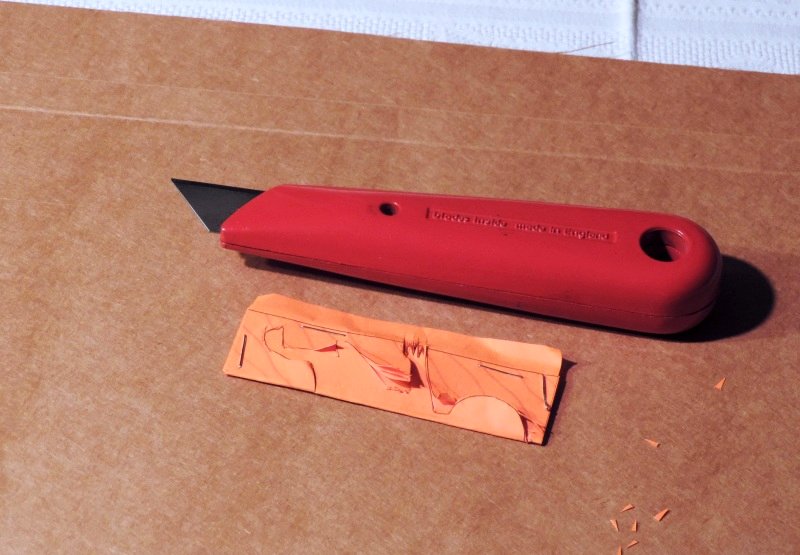
7. Start cutting along the outline. Scissors aren't strong enough to cut through ten layers so use a craft knife. Make sure you put the paper-cut on top of something soft yet durable like this cardboard to ensure that the knife does not cut through to the table and the blade is not damaged.
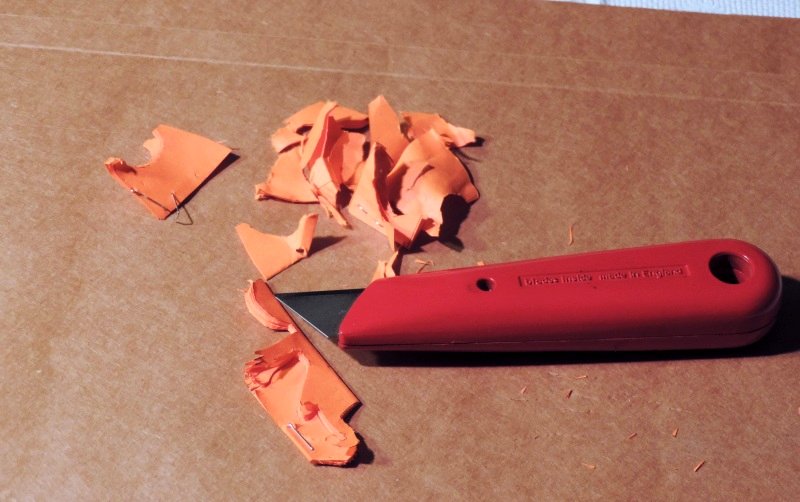
8. Even with a sharp knife it is not possible to cut through ten layers in one go. So carefully pull out 3 or 4 layers at a time leaving the staples until the last layers have been cut. Be extra careful with the fingers of the girls - these must go to the edge of the paper and not be cut through.
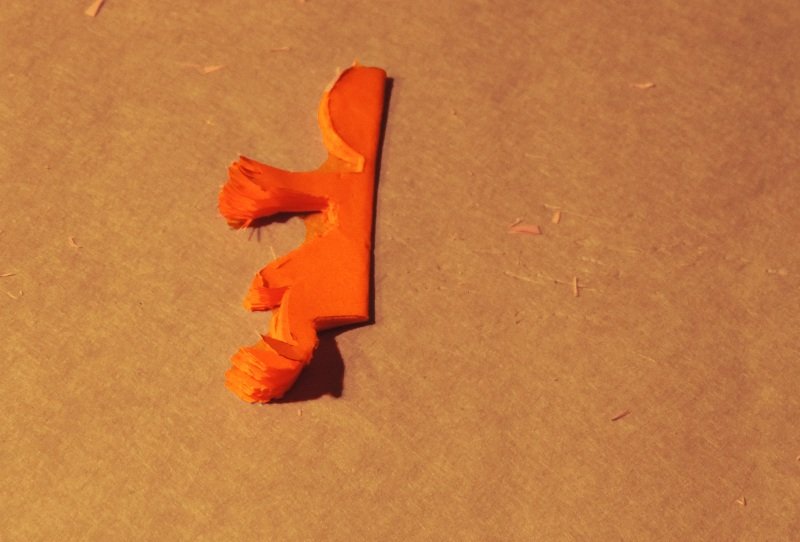
9. The completed paper-cut looks a little battered, but now the magic starts - very carefully tease the layers apart. The five girls/dolls are linked by delicate fingertips and so it is very easy to accidentally tear the figures apart.
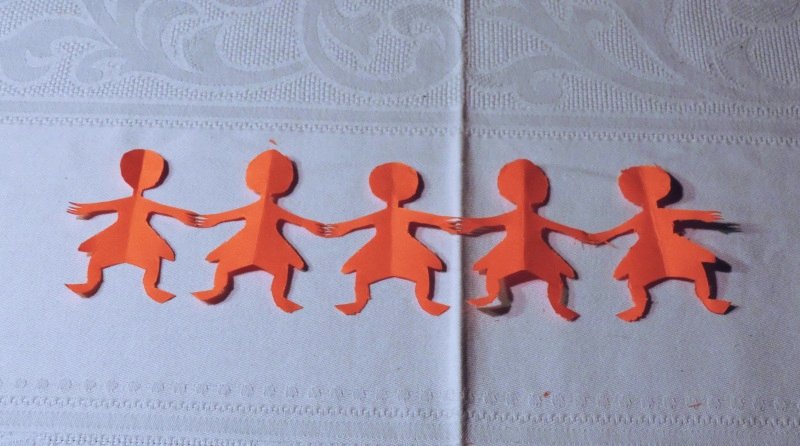
10. This is the completed five girls (or dolls) paper-cut. I was lucky, the fingertips held together just fine.