Chinese Double Happiness paper-cut 囍 xǐ
There are many paper-cuts that contain the character 囍 xǐ ‘Double Happiness’. It is often seen at weddings and other family celebrations. These step-by-step instructions show you how to make it. All you need is colored paper and scissors.
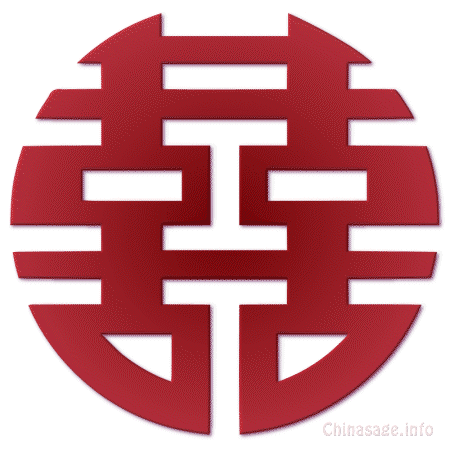
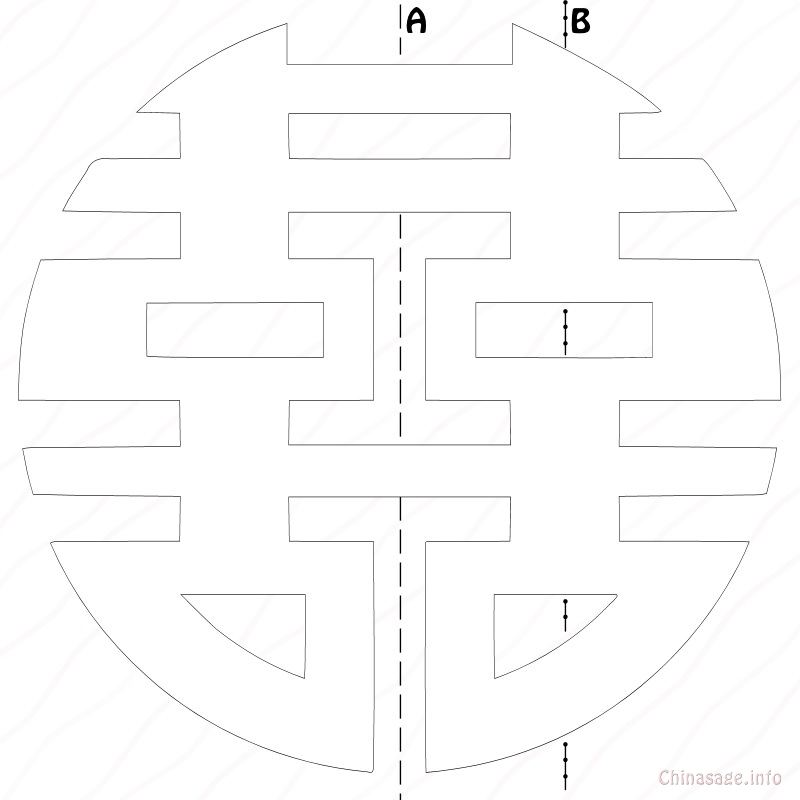
1. This is the template for this paper-cut - right click on it and save the image, then print it out onto colored paper.
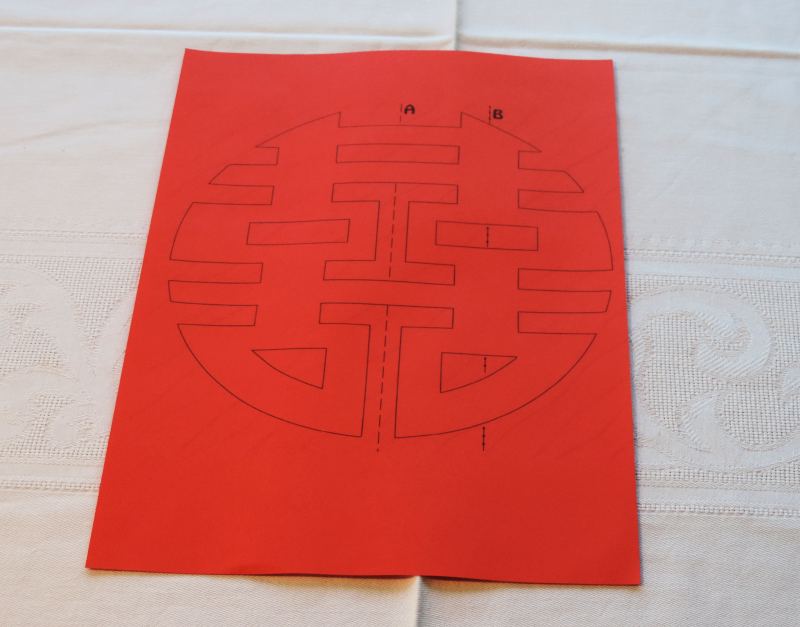
2. First print onto your colored paper using your printer. You can print onto paper and then use 'temporary', 'positioning' glue to stick to thicker paper/card or other media.
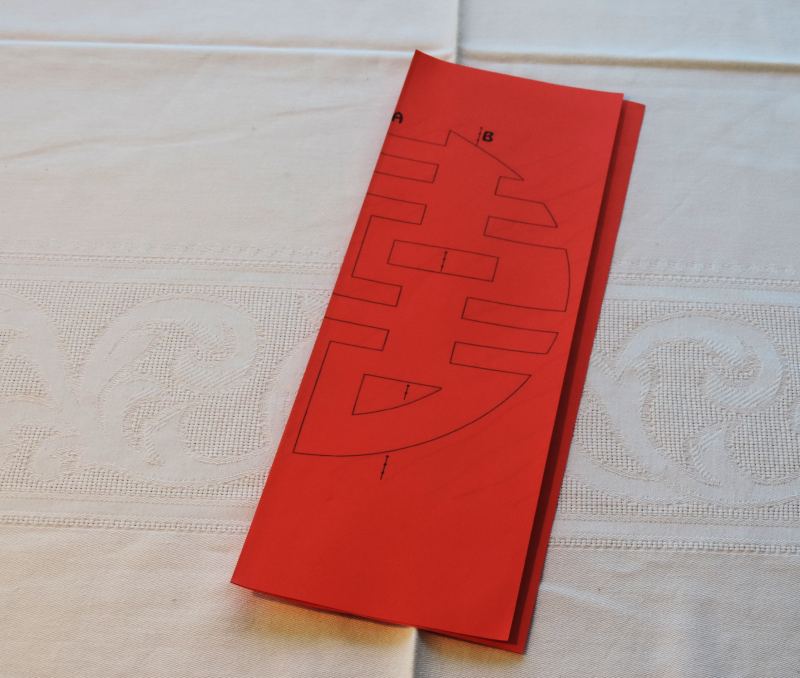
3. Now fold the paper in half along the vertical line A leaving the printed marks outwards.
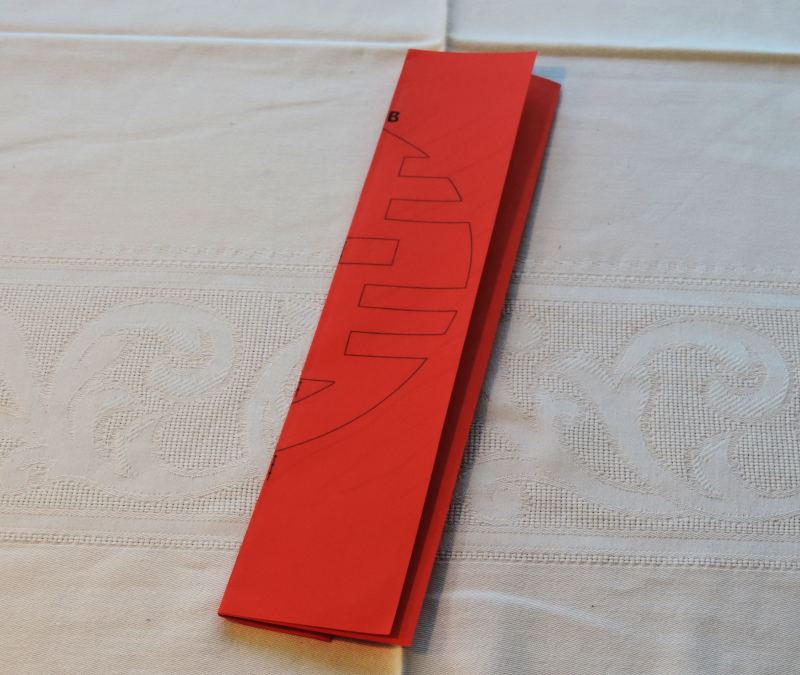
4. Fold the paper a second time along the vertical line B.
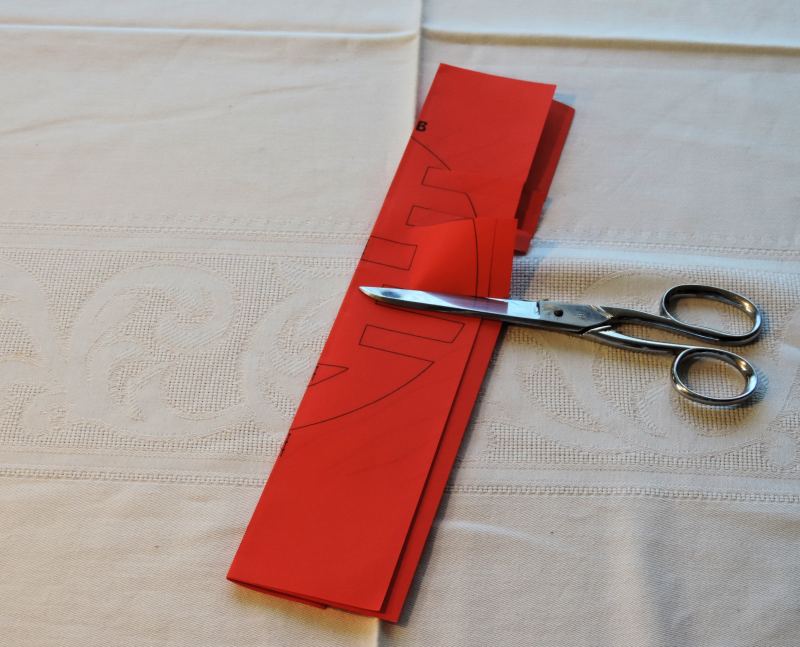
5. Cut out four horizontal rectangles on the right side and one shorter one on the left using sharp scissors. Do NOT cut the small rounded triangle at this stage.
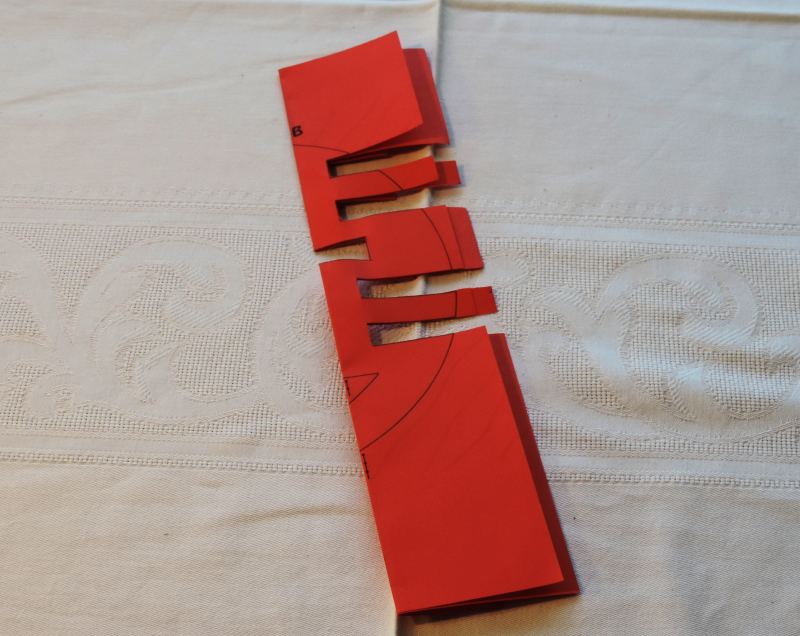
6. This is how it should look after completing these five cuts.
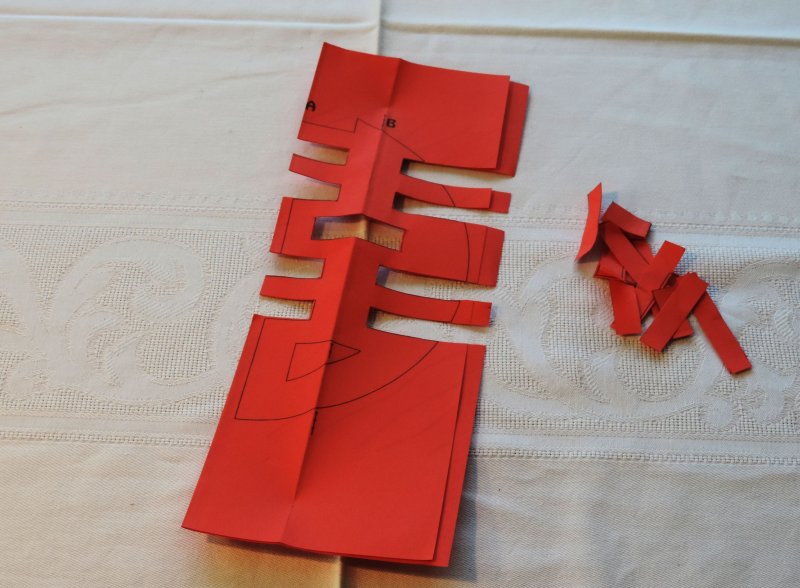
7. Open out fold B and then start cutting around the outline of the circle.
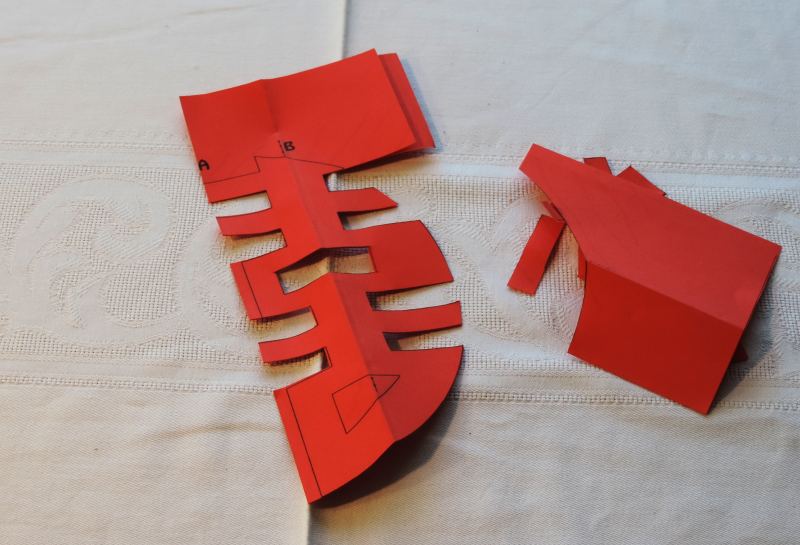
8. This is what you should see having cut away the bottom part of the circle outline after carefully following the printed line. The top edge, the inner vertical cuts and also the rounded triangle at the bottom are still to be done.
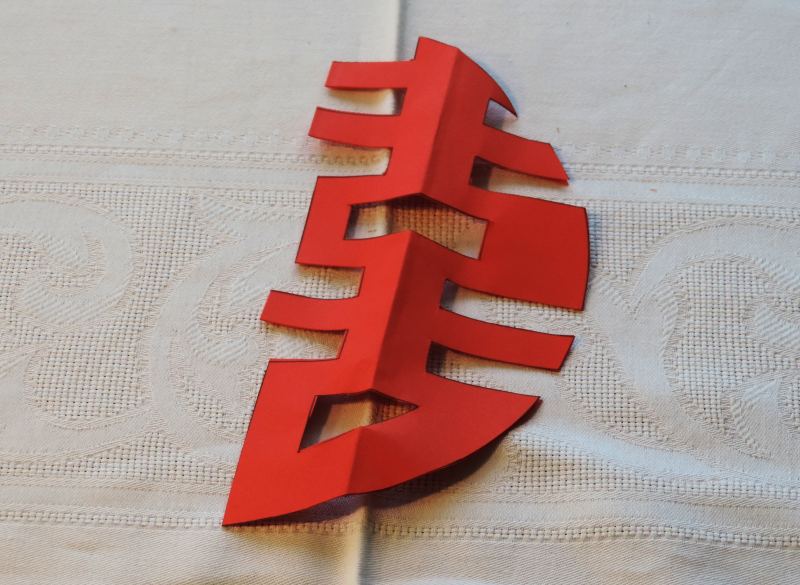
9. All the cuts have been made.
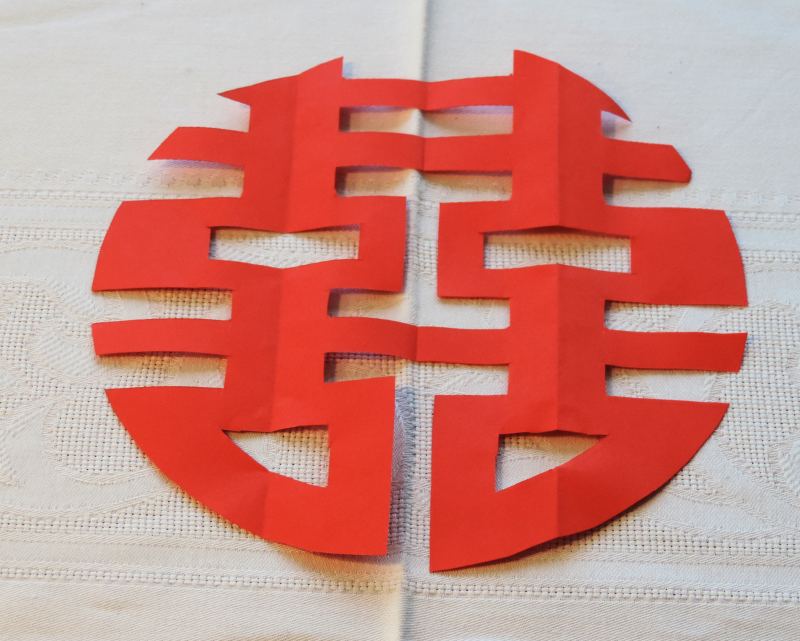
10. Open out the paper-cut along fold A to reveal the completed paper-cut. You can scale the paper-cut image to larger or smaller sizes and follow the same procedure. As it is only folded over twice you should be able to use quite thick paper or thin card. It's also easy to make a square version - just use a square rather than a round outline.